
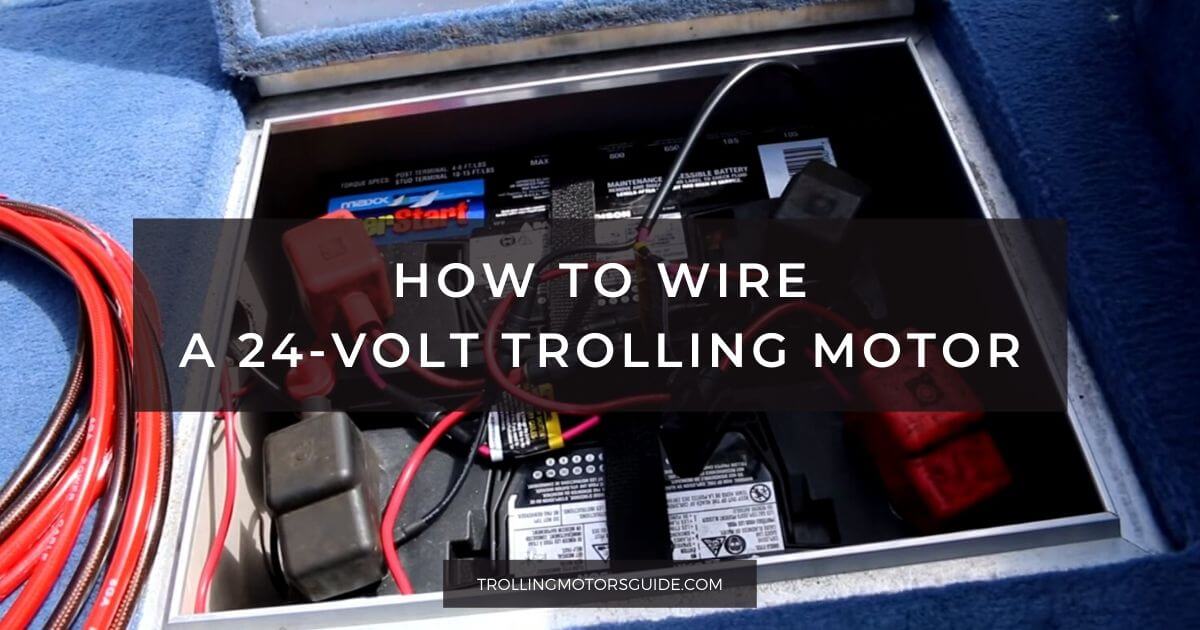
The question of how to Wire a 24-volt Trolling Motor is very important because a wrong sequence of actions or nonobservance of polarities can lead to undesirable consequences.
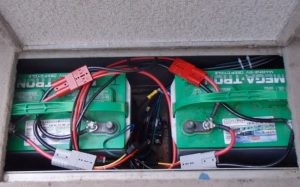
A 24v trolling motor uses two deep cycle batteries and this is because they last longer.
When maintained properly, they can last over 5 years.
If they are not properly maintained, the battery life shortens.
In fact, failing to recharge your batteries after use can reduce their lifespan.
Deep cycle batteries are not cheap. So proper care isn’t only going to extend the life of your batteries, but you also won’t need to keep digging into your pocket to buy new batteries.
When it comes to wiring a 24v trolling motor, the good news is that it’s not complicated and you don’t need to hire a professional to do it. So if you have never done it before and you want to give it a shot, here is how to go about it.
So let’s finally get to the answer to the question of how to Wire a 24-volt Trolling Motor?
How to wire a 24-volt trolling motor using two 12v batteries
Step 1: Prepare everything you need
Get the necessary tools and equipment to wire your 24v trolling system. In this case, you need:
- two 12v deep cycle batteries;
- a battery connector cable;
- trolling motor power cable.
Step 2: Check voltage by multimeter
Check the voltage on each battery and to do this you need a multimeter. You can choose to skip this step. But it is always good to check and see if the battery needs to be recharged or not.
A 12v battery has a resting voltage of 12.72 – 12.90 volts and a 24v battery has a voltage of 25.6 volts after it’s removed from the charger.
If the battery is not at that voltage, it means that you need to recharge it before using it.
If the voltage drops significantly in a very short time or when you start your trolling motor, this means that you are either using the wrong charger or your charger is damaged.
Step 3: Wiring the batteries
Each battery has a positive terminal which is red in color and a negative terminal which is black in color.
Using a battery connector cable, connect the positive terminal of your first battery to the negative terminal of your second battery. To do this easily, the batteries need to be placed side by side.
You then need to connect the trolling motor power cable to the batteries.
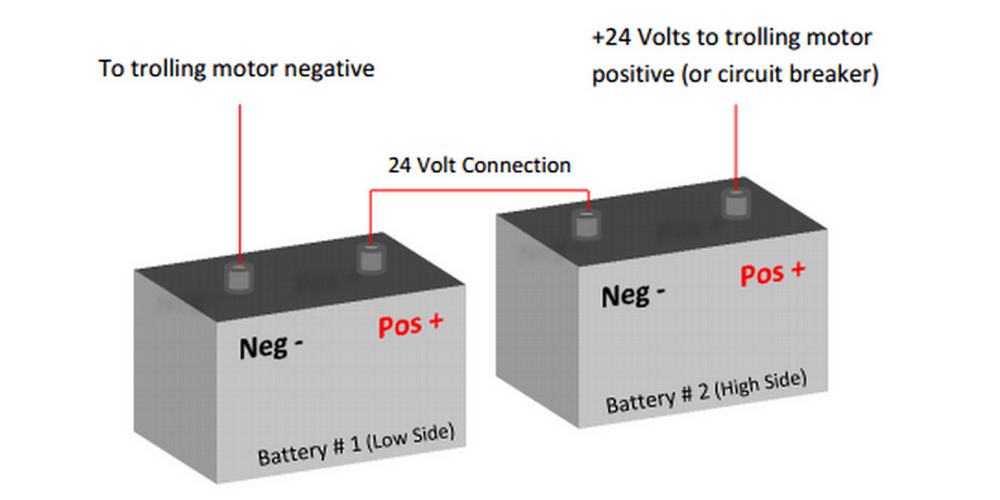
So first connect the positive lead of your trolling motor cable to the positive terminal of your second battery. And then connect the negative lead of your trolling motor cable to the negative terminal of your first battery.
If you are using a circuit breaker, you first need to connect to it by connecting the positive lead of the trolling motor cable to the positive part on the circuit breaker.
Then connect the negative lead of the motor cable from your circuit breaker to the positive part of your first battery. Lastly, connect the negative part of your second battery to the negative part on the trolling motor.
What Size Wire Do You Need for a 24V Trolling Motor?
You’ll need to use a thicker gauge wire for a 24V trolling motor than you would for a 12V trolling motor. The recommended size is at least eight gauges, but you may need to go up to six gauges if your trolling motor is particularly powerful.
By the way, it is better to check your trolling motor manual before making a choice.
Safety precautions when wiring a deep cycle batteries
When working with lead-acid batteries, make sure you don’t have any jewelry on like rings. If you have a watch on, remove it. Doing this prevents amps from discharging through these items onto the body.
You may choose to wear eye protection. It is not a must, but it is definitely a good idea. You may also consider wearing old clothes when working with the batteries because the electrolyte in the batteries is highly corrosive.
