Choosing a proper trolling motor wire size is more important than you might think. Many people, especially beginner boat enthusiasts underestimate wire gauges. They don’t know about electrical resistance and think that a proper current is the only thing that matters.
To ensure you don’t make such a mistake, we’ve created this gauge wire guide. The first section is dedicated to the general notion of a wire gauge and why it’s important, as well as the American Wire Gauge.
The second part is more specific to trolling motors, but we recommend you read the whole piece to have a full understanding of the topic. Electricity issues hold a serious fire hazard, and fire on the water never sounds good.
So, let’s begin!
General Wire Gauge Notion and the American Wire Gauge (AWG) Explained
Some technicians manage to put so many difficult terms in the notion of a wire gauge that it becomes difficult to understand. In reality, it’s the thickness of a wire you want to use for the application, and nothing more.
But this measurement is very important, even though easy to understand. Many beginners consider the possibility of electrical current passing the only essential factor. However, only some of them have heard about electrical resistance in cables. The term is connected to the current and the temperature of the wire.
Electrical resistance is the main reason for the movement of the current inside the wire. As electricity moves, the temperature of the cable increases greatly.
So, if you need a lot of flow, choosing a small gauge isn’t the best idea. Picking such a wire may cause issues with long-term use.
Although insulation material provides some degree of protection, it’s also subject to melting under high temperatures. And having a piece of cable with melting insulation isn’t the kind of thing you want in your trolling motor. As a result, you will have:
- A damaged wire;
- A strong fire hazard;
- A short circuit hazard;
- A potentially broken motor;
- No stability of use.
The way out seems to be choosing a thick wire. But it’s misleading because thicker gauges tend to allow more current flow. Electrical resistance reduces, so it doesn’t heat up so much, but too much electricity may damage the motor or any other appliance.
That’s why it’s crucial to know how to choose a proper wire gauge. It’s even better if you’re fluent in the official measurement systems. One such is the American Wire Gauge (AWG).
The American Wire Gauge (AWG)

You can find the full chart here.
Circular wires in the USA are regulated by the AWG. It’s responsible for the measurements of electrical resistance and current flow of both stranded and single wires. Some people doubt its accuracy, but most use it as the only standard.
Overall, there are 40 sizes, from 0000 to 36 AWG. Interestingly, the 0000 AWG wire is the thickest (0.46” or 11.684 mm). The smallest 36 AWG one is 0.005” or 0.127 mm. Many sources have smaller wires in the tables as well.
Many beginners find it difficult to remember that a smaller number indicates a larger wire. So, we recommend you memorize this as the main rule right now.
The AWG measurements are a correlation between a wire thickness and drawing operation. Logically, a smaller wire would require more drawing than a thicker one. That’s why the chart seems so misleading.
You can find out the gauge by measuring its cross-sectional area. Keep in mind that if you have a stranded wire thicker than a solid one, they may have the same gauge.
Why? Because in a stranded wire, although the strands are pulled together right, there will be air between them, which increases the thickness. A solid wire doesn’t have this issue and has the same gauge measurements while being thinner.
To know for sure, you may need to get the table by the American Society of Testing and Materials (ASTM) Standards.
How to Choose the Needed Wire Gauge for an Application
Ok, why bother with all these AWG and ASTM systems if you don’t know what wire gauge is needed for your particular trolling motor or another appliance?
There’s no need to worry. Read the user’s manual for the motor, and you’ll find all the necessary information there. If not all, at least the requirements for wire amperage must be there.
If you don’t have the documents, look online or contact the manufacturer. They should update you on the current needed for the proper work of the appliance.
There may be several loads and you will have to combine them to determine the kind of wire needed.
Another important thing is the temperature limit of the wire’s insulation. This data should be in online or paper catalogs of cable manufacturers. Most manufacturers, especially those specializing in marine wires and appliances, specify the necessary information in their user manuals and catalogs.
If you need additional information, there are also standards related to the safety of appliance usage by the National Electrical Code (NEC). Comparing, combining, and matching all the sources of information should tell you what exact wire gauge to use.
Wire Gauge for a Trolling Motor: What Matters in the Calculations
Lately, more and more marine enthusiasts are learning about the basics of motor maintenance and everything electricity-wise. This is a good thing because the more you know, the fewer chances there are for an accident.
Making a mistake may cause damage not only to your beloved boat and wallet but to your health as well. So, at least basic facts about wire gauges and which ones you need for a trolling motor are essential.
Here are two main factors your final decision:
- The distance between the motor and the battery;
- The maximum amperage of the trolling motor.
We’ll talk more about them, one by one.
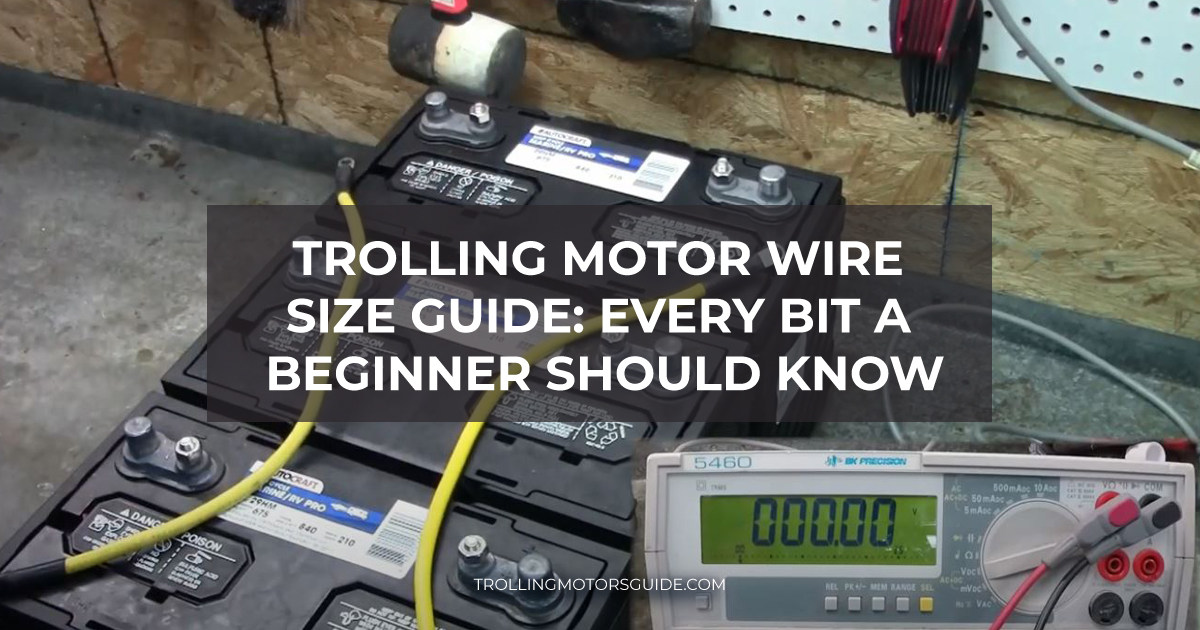
Battery and Motor Distance
Placing your battery farther from the motor isn’t weird because there are several factors impacting the choice:
- Whether direct sunlight reaches the spot; if so, for how long at a time;
- Whether the spot is too conspicuous and someone may steal the battery;
- Whether you have enough space for the battery on the estimated spot, etc.
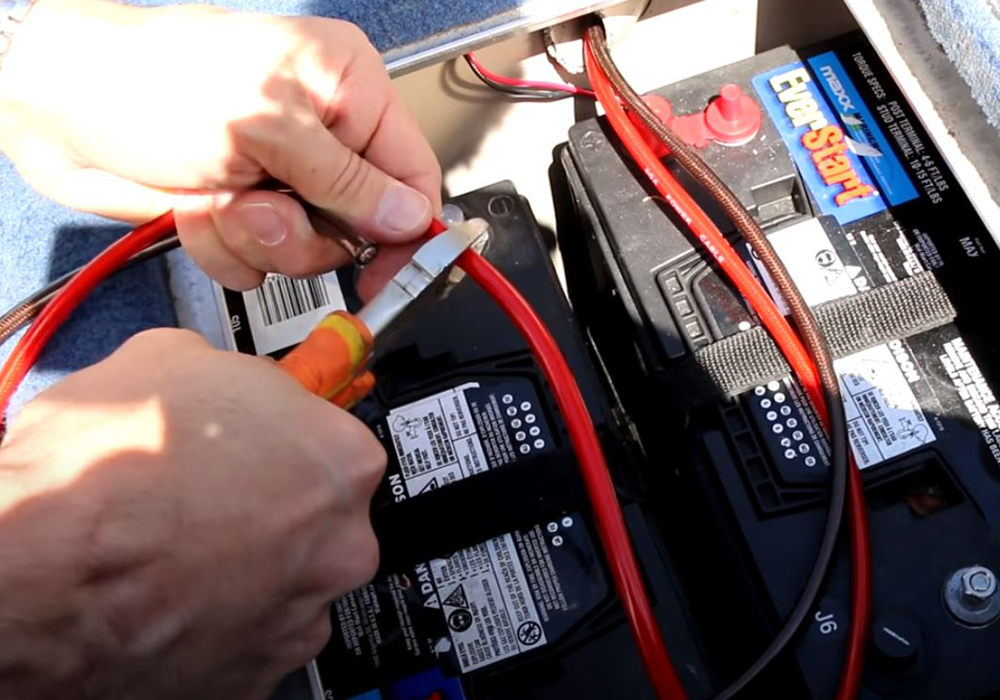
Even if the battery is far from the deck, it’s fine. But you’ll have to compensate for the prolonged distance with the length and gauge of the wire that will connect them.
So, even if you have all the information about your wires’ gauges that we discussed earlier, you’ll have to calculate it again if the length changes. The two measurements correlate, and gauges change with the length of cables. It’s better to have all the data beforehand and only then contact manufacturers or looking for wire catalogs.
Motor’s Maximum Amperage
Another required piece of info is the amperage of the motor. It’s been mentioned before in this article.
The purpose is to choose a wire that will be able to carry sufficient electrical current to the plug of the trolling motor. If the wire’s not capable, the appliance won’t work properly, which will result in inconveniences and issues. The amperage should be mentioned in the user’s manual or the specs plate right on your motor. If there’s none, the manufacturer’s website should help. And if there’s no info as well, knock on the doors of their customer support.
If you don’t choose a proper wire, there will be a fire hazard we talked about before. Damaging your wire and motor is one thing but hurting yourself or the passengers is a whole new level of danger.
The golden rule is to choose a larger gauge and longer wire for more powerful trolling motors.
Additional Factors of Choosing a Proper Wire Gauge for Your Trolling Motor
Upon knowing all the above data about your trolling motor and the wire necessary for it, there are additional factors to consider. You want to be as accurate as possible, so some add-on info won’t hurt.
Total Length
When needed, don’t forget to mention the total length of your wire, which is from the battery to the motor and back. This doubles your initial calculations, but don’t let it confuse you.
Motor Voltage
Consider the motor voltage when choosing the wire gauge. Manufacturers provide 12V, 24V, and 36V catalogs. Make sure you have a proper one or a lower one. A 12-volt catalog should be safe for 24 and 36V systems as well. For more information, you can contact the manufacturer.
Voltage Drop
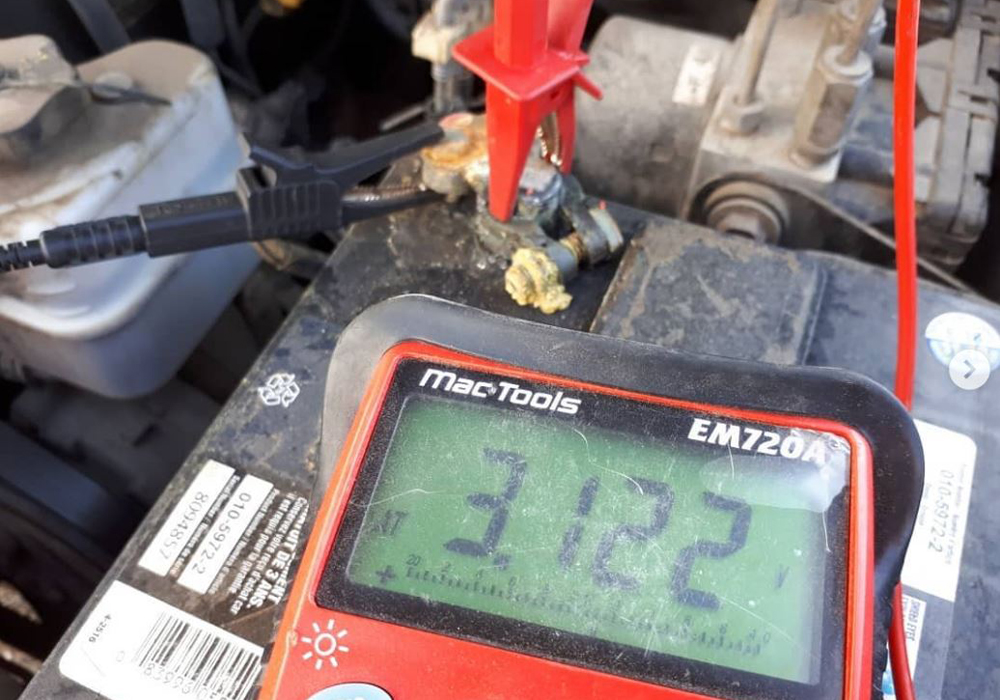
Voltage drop is a basic (often minimal) decrease in the electrical current that reaches its final destination. Along the length of the wire, with conductors, connectors, and other elements, some amount of energy dissipates. Although some systems offer a very tiny energy loss, it’s still worth including in your calculations.
Talking about trolling motors, the rule of thumb is to use a 3% voltage drop. Recommendations vary, but usually, it’s 3% for maximum efficiency appliances and 10% for minimum efficiency. This is a safe range.
For most trolling motors, manufacturers consider a 5% voltage drop to be the maximum. The American Boat and Yacht Council (ABYC) standards say the 3% drop is the golden measurement for trolling motors.
Breakers
Breakers are incredible tools that will compensate for minor mistakes. The most important criterion of choice is that the tool doesn’t allow a stronger current than the wire can handle without damage. This notion correlates with the amperage of your motor. So, if the limit is 50-55 amps, you can install a 60-amp breaker or a closer one.
An Easy Step-By-Step for Beginners and Professionals

All this information may be difficult to comprehend fully if you’re a beginner, so we’ve gathered all the points into one easy step-by-step. If you don’t understand something in it, come back to the main article and repeat the terms and rules.
Here you go:
- Calculate the maximum amperage of your trolling motor and round it up to the closest 10 for easier calculations;
- Estimate the total length (from the battery to the motor and back, remember?). Round up the number to the nearest 10 ft;
- Include the additional factors in your calculations (total voltage and its drop). When needed, contact the manufacturer. You can find necessary data in user manuals and catalogs as well;
- Look for a wire gauge table and choose the proper wire;
- If you’re not sure or are afraid for your safety because it’s your first set of calculations, add an extra 10 ft to the total length of the wire.
Conclusion
There are many numbers and even more calculations. But after you do it several times, it becomes much easier. There’s a lot of information online on official websites and informational sources. For more support, you can find YouTube videos on the topic. And if necessary, ask a professional for help. Your safety is the utmost priority!