Are you sick and tired of complicated trolling motor installation and removing? Do you wish the process to be much easier?
If you have a difficult time assembling and connecting those wires with a motor, there is a simple solution. Use a special trolling motor plug.
For me, an experienced user of trolling motors, wiring has always been a problem. Even in docks, I did not like getting those wires together.
If you don’t like it either, I understand you: you are always at risk of damaging a wire. It is difficult to change it in a motor.
You always risk getting electrical damage if you do not use protection.
The most frustrating situation happens when you need to unplug a motor on the sea. Everything can happen, from the battery overheat to water poured into a battery. And you find yourself with the wires you have to disconnect quickly and carefully.
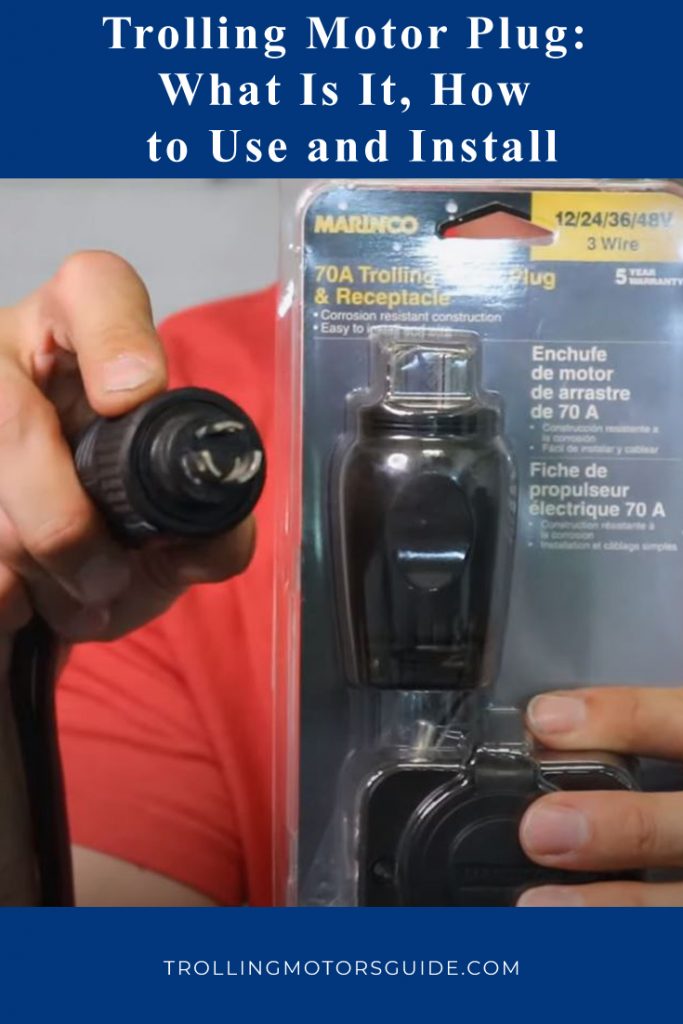
That is why a trolling motor plug is a must-have for every trolling enthusiast. In this post, I’ll try to tell you everything about trolling motor plugs, what are the best plugs, and what you need to install and use them.
How Do Trolling Motor Plugs Work?
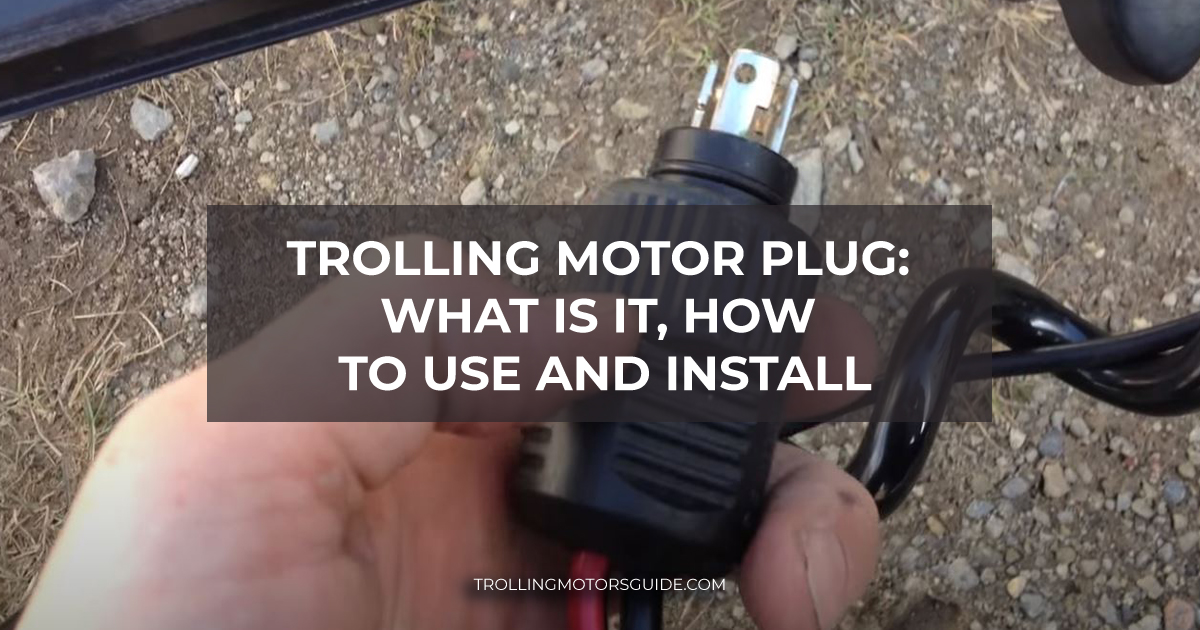
Trolling motor plugs work exactly like any other plug you can find in your house. The plug itself consists of two parts: a plug and a receptacle.
The main principle of work is similar to the simple receptacle: you plug the wire into a motor and connect the battery with it.
When you want a motor to stop, unplug it from a battery. As a result, you have got a convenient mediator between motor and battery wires.
The main advantages of a trolling motor plug are:
- It is easy to use.
- It is safe: you do not have to touch the wires and get electrical damage.
- The plugs are waterproof so that you may not worry about water leaking into the motor.
- The plug prevents the motor wires from physical damage – you touch and move them fewer times.
- It is easier to deinstall the motor, its parts or change the battery with a plug.
- It is easier to control a working motor. You can turn it off quickly in case of overheating.
- The majority of plugs are universal and fit to different motor designs.
In other words, a trolling motor plug is a must when you have got an old motor and want to make your life easier. The newest motors already have an in-built plug. They are expensive, though.
And if you do not want to replace your favorite motor, a plug is the best way to renovate it.
What Do I Need for Installation?
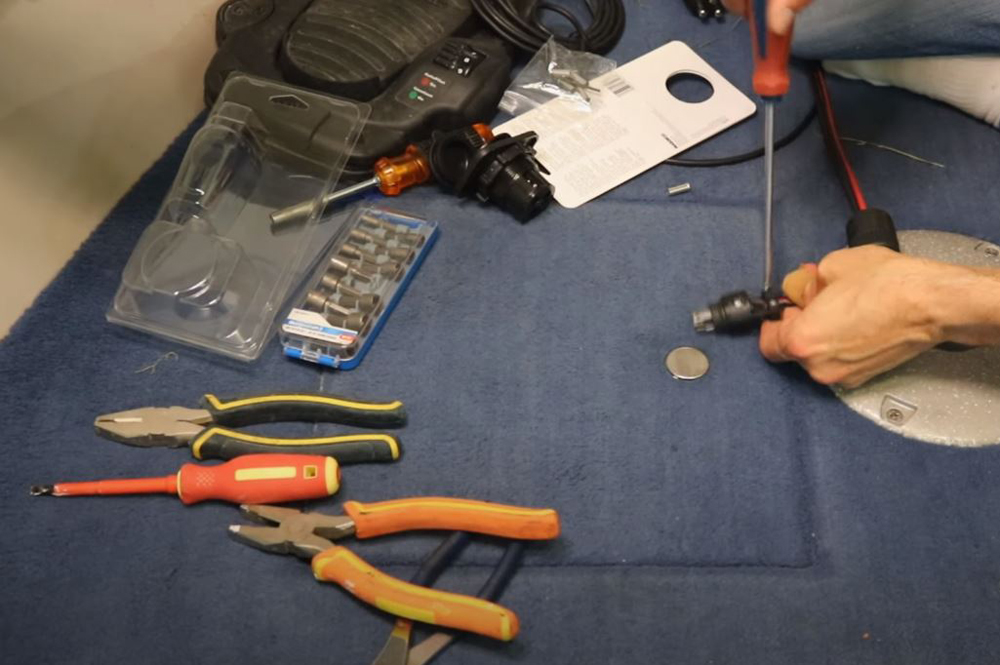
In most cases, producers sell motor plugs as they are: with a plug, a receptacle, and wires. Before you start the installation, make sure you’ve got the following items:
- You must get an electric drill with some changeable bits and the ability to install them. We do not recommend using a mechanical drill or other instruments that can make holes.
First, you risk making wrong holes that won’t hold the plug properly.
Secondly, you are going to work with a motor and boat surface, and any instrument except a drill can do a lot of damage.
- Two bits for the drill. On average, you’ll need a 1 1/8″ hole saw bit to make a hole for a standard receptacle and a 7/64″ for the screw holes.
Note that these are the average sizes.
You can get a non-standard plug. So, you’ll need other bits. We recommend getting instructions, surfing the Internet for specifications, or calling a producer for this information.
- You’ll need a solid electrical wire. Do not use cheap or thin wires, as the amp draw of the motor battery is high. You’ll need something that can hold the charge without overheating. If you are not sure, look for something like this.
- You’ll need four screws that will fit into the holes made by a 7/64″ drill bit. For more efficiency, you can use the corresponding rawlplugs.
- To connect the wire, you need to strip its ends. For this, we recommend using a professional stripper. Again, we do not recommend any other instruments, like knives or pliers. You can remove the coating with them, no doubts.
You can damage the wire or cut yourself either.
- You’ll need a Phillips screwdriver. If your electric drill has got a screwdriver mode, it would be nice. Get a cross-shaped bit for it.
- Do not forget to take the plug and everything that comes in the box with it with you.
- Also, you might need some protection. We recommend wearing special gloves that will protect your hands from cuts. They will increase the tension between your hands and instruments as well.
The glasses to protect your eyes from sparks and metal particles will not be out of place.
A few words about your safety before you begin: work only with an isolated and turned off motor. Do not install the plug with a boat being on the water. Use proper enlightenment to see what you screw.
If you have your motor on a guarantee and do not want it to go invalid, consult a dealer about plug installation. Maybe, they have got a service center or a special certified person who can do it for you.
The same tip concerns everybody unfamiliar with instruments. At least, you need to watch some video instructions or get a handy person to assist you.
How To Install The Plug and Receptacle
When everything you need is gathered, you can start the installation. But first, a few notes to consider.
- It might happen that a motor already has an in-built receptacle. In this case, you need to consult your boat or motor dealer to pick a corresponding plug. Unfortunately, the plugs and receptacles are not universal and might not be compatible with each other.
- If you are afraid of drilling a hole in a boat, you can use it another way. You’ll need a quick connect kit. Install them near a motor or a battery to have easy access to turning them off and on.
Here is an algorithm of actions you need to do. Keep it by hand, or watch another video that might be helpful.

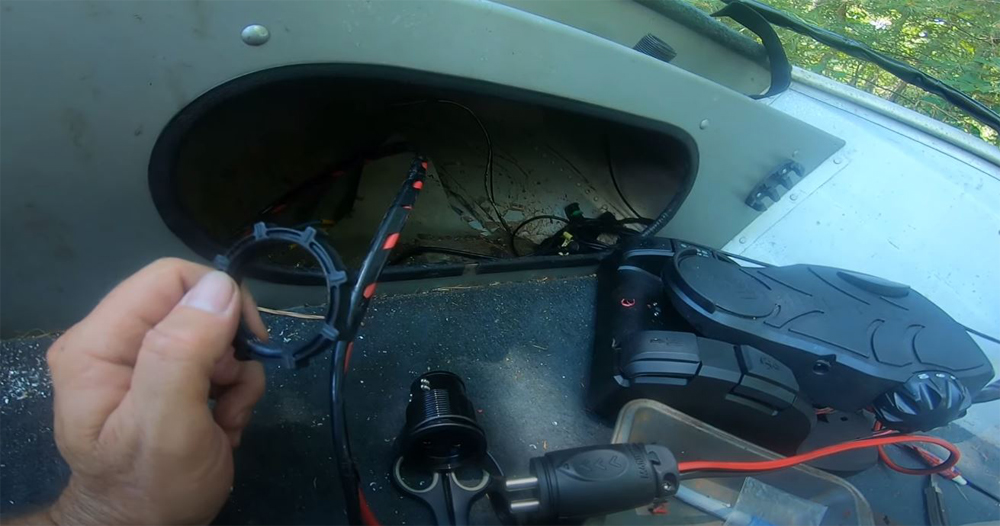
- Find a good place for your future plug on your board. Choose a place with a strong undamaged surface (that can hold a plug without breaking). A place must be safe from water, as you do not want it to leak into the receptacle. We recommend a vertical surface.
- Take a drill and a hole saw bit you’ve chosen and made a hole for the plug.
- Put the plug into the hole and use it as a template to draw the location of the future screw holes.
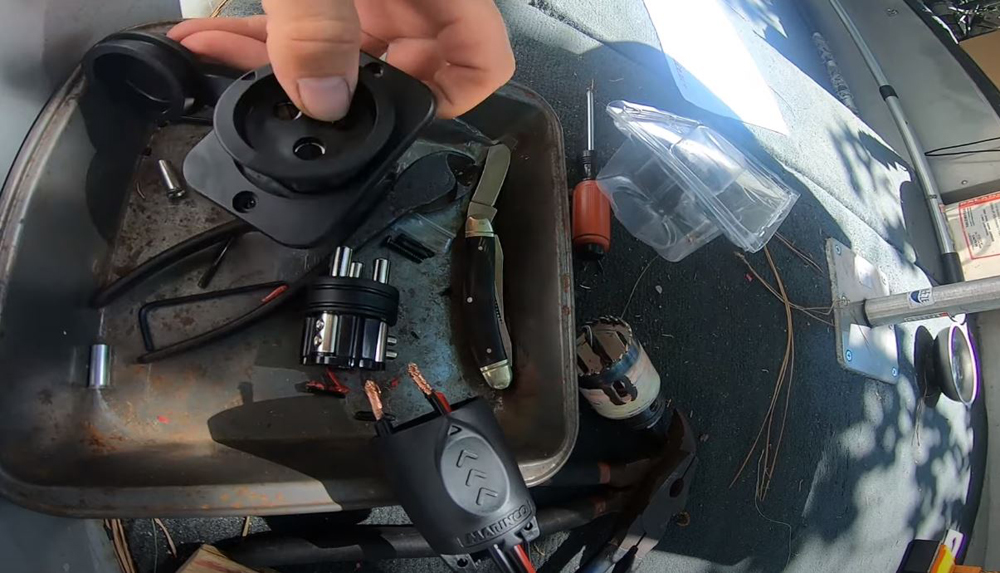
- Now you need to take the trolling motor wires and strip their ends (those that will connect with a plug).
Strip both negative and positive wires. You’ll need to strip around half an inch of each wire end. - Do the same with the battery leads.
- Now, you need to attach the motor power leads to the male end (the plug itself), and the battery leads to the female end (receptacle).
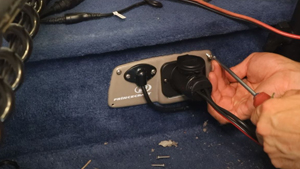
- Place the receptacle into a hole and fasten it with the screws.
- You might isolate the bare wire ends (if you have stripped too much).
- As soon as the receptacle is installed and a plug is connected with a motor, the system is ready to go.
Be sure that a plug has no moisture on it before putting it into a receptacle.
We recommend making a plug cover from a simple vacuum plastic bag. It would be nice to make a cover or a waterproof case for a receptacle as well.
How To Wire A 24-Volt Trolling Motor Plug
A standard trolling motor uses 12 volts. In other words, it needs one standard battery to start and work. However, there are motors that use 24 or even 36 volts (two or three batteries, correspondingly).
How to connect them with a receptacle in this case? It is easy, but you’ll need a special circuit breaker.
We are going to connect the batteries consequently. Here is what you need to do:
- Take a positive power lead of the motor and connect it with the positive end of a circuit breaker.
- Take one battery and connect its positive power lead with the negative terminal of the circuit breaker. You must get the following scheme: motor (positive) – (positive) circuit breaker (negative) – (positive) battery.
- Now you need to add the other batteries by connecting the negative terminal of the first battery with the positive terminal of the second one.
- Continue by adding the number of batteries you need.
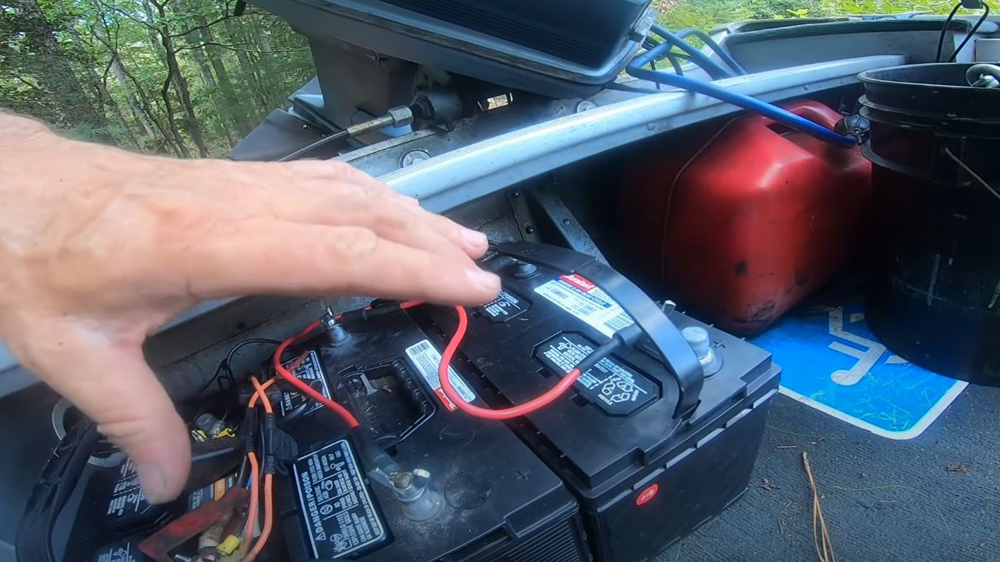
In the end, you’ll have a negative battery terminal, and a negative motor power wire left. Connect them with each other to complete the circuit.
Best Trolling Motor Plugs
Now, let’s talk about the product you may find on the market today. On the Internet, you are likely to find three companies that produce trolling motor plugs:
- Marinco is a company that specializes in electrical hardware designed for harsh environments. It produces adapters, cords sets, lights, instruments for battery and power management. The company is focused on marine gear and the electric features of boats and yachts.
- Minn Kota. If you are a trolling motor enthusiast, you have heard about the company. It is one of the most significant trolling motor producers on the market. However, motors are not the only specialization. A company can equip your boat with everything needed, starting from an anchor and finishing with lights, horns, and batteries.
- Attwood Marine is another global company that specializes in various marine gear for boats. You will find everything from ventilation and water systems to electrical gear and accessories. I must admit that a company has the fullest range of boat equipment.
Let’s go further to the best plugs on the market:
- Marinco Pro F/Crestliner is compatible with 16 to 8 AWG wires. This plug is perfectly protected from water and corrosion. The ergonomic design and the maximal rating of 40 amps make it a fine universal plug that will cover all your needs. It is convenient to install it, but you will have a hard time reading the instructions. People claim they are pretty poor.
- Marinco 12-24 Volt is a more powerful version of the previous item. It is a perfect choice for the situation with several batteries. With a jumper, though, you can switch it between 12 and 24 volts modes.
- Marinco 12VCPS3 is a complete set of a plug and a receptacle. It is a universal choice for one, two, three, or four battery sets. The plug is compatible with up to 6 AWG leads. The maximal power limit equals 70 amp. The receptacle has got in-built water protecting cover.
- Minn Kota MKR 26 is another set for plugging. It can hold up to four 12 volt batteries, with a maximal power of 60 amp. The set is compatible with 6-10 AWG wire sizes. Its convenient design fits perfectly to the vertical surfaces.
- Attwood Trolling Motor Power Plug is needed for those who seek simple and cheap solutions. It can hold up to three 12 V batteries. Its main advantage is price, which is two or three times lower than other competitors have.
These are the best plugs on the market for now. In other cases, you’ll find their analogies. Again, we recommend consulting your dealer if you already have a receptacle on your motor.
As you can see, the main things to mind while choosing a plug are their power limits and voltage ratios. They are all well-protected from water, and each of them fits the majority of battery schemes and motors.
Conclusion
That is all you need to know about trolling motor plugs. They do make your life easier. With the ability to disconnect the battery from a motor quickly, you get better power management and driving options. You prolong the motor lifespan as well.
The installation is not that difficult: you do not need much. However, the activity can be dangerous for inexperienced users, so do not forget to watch the videos and read the instructions.
What do you think about getting a plug? It would be nice to read your comments about your experience with such gear. As for me, I have revealed them long ago and now cannot imagine my life without these plugs.